
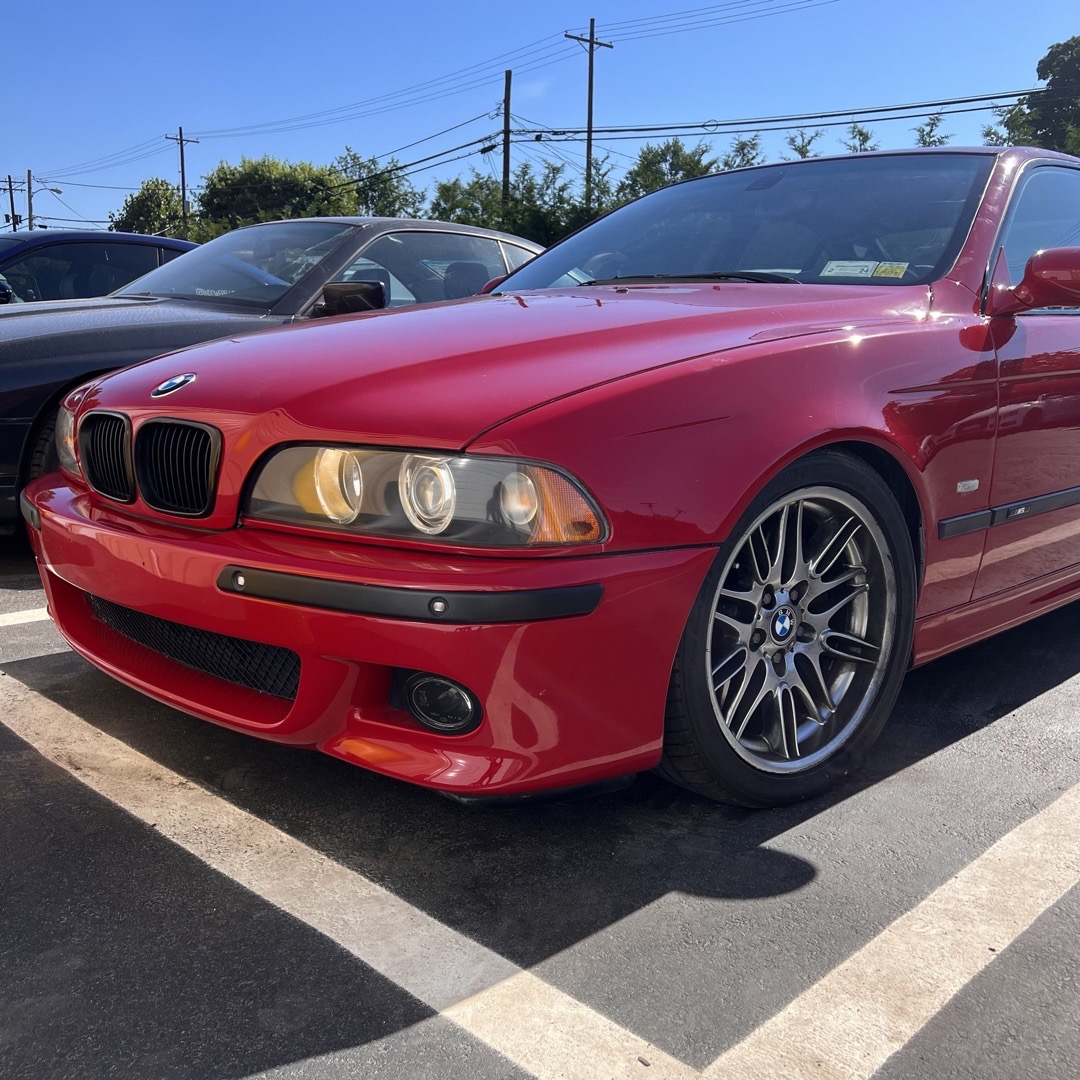
E39 M5 Auxiliary Fan & Harness Repair
Posted by Elyse Cruz on Jun 27th 2022
This beautiful 6 speed E39 M5 powered by the glorious S62 was suffering from intermittent overheating at idle with no loss of coolant and no stored error codes in the DME. The E39 along with its M54 variant all have two fans - one mechanical fan driven by the engine via a clutch and one electric "pusher" fan that sits in front of the radiator. The auxiliary fan works in tandem with the AC system to properly cool and maintain the operating temperature of the vehicle.
The auxiliary fan works on a PWM system (pulse width modulation) to allow the fan to spin at variable speeds. The DME is capable of adjusting the output to meet the vehicles demand's. The DME in the E39 looks for a signal from the water temp sensor located in the lower radiator hose along with input data from AC system to engage the aux fan. When the aux fan fails to turn on - your vehicle will overheat intermittently - and your AC system may begin to malfunction. In some cases, turning the heat on high and getting air moving across the radiator from driving will bring the coolant temperature back into nominal range - but if you're at this point, it's time to replace your auxiliary fan (And in our case, repair the harness along with it).
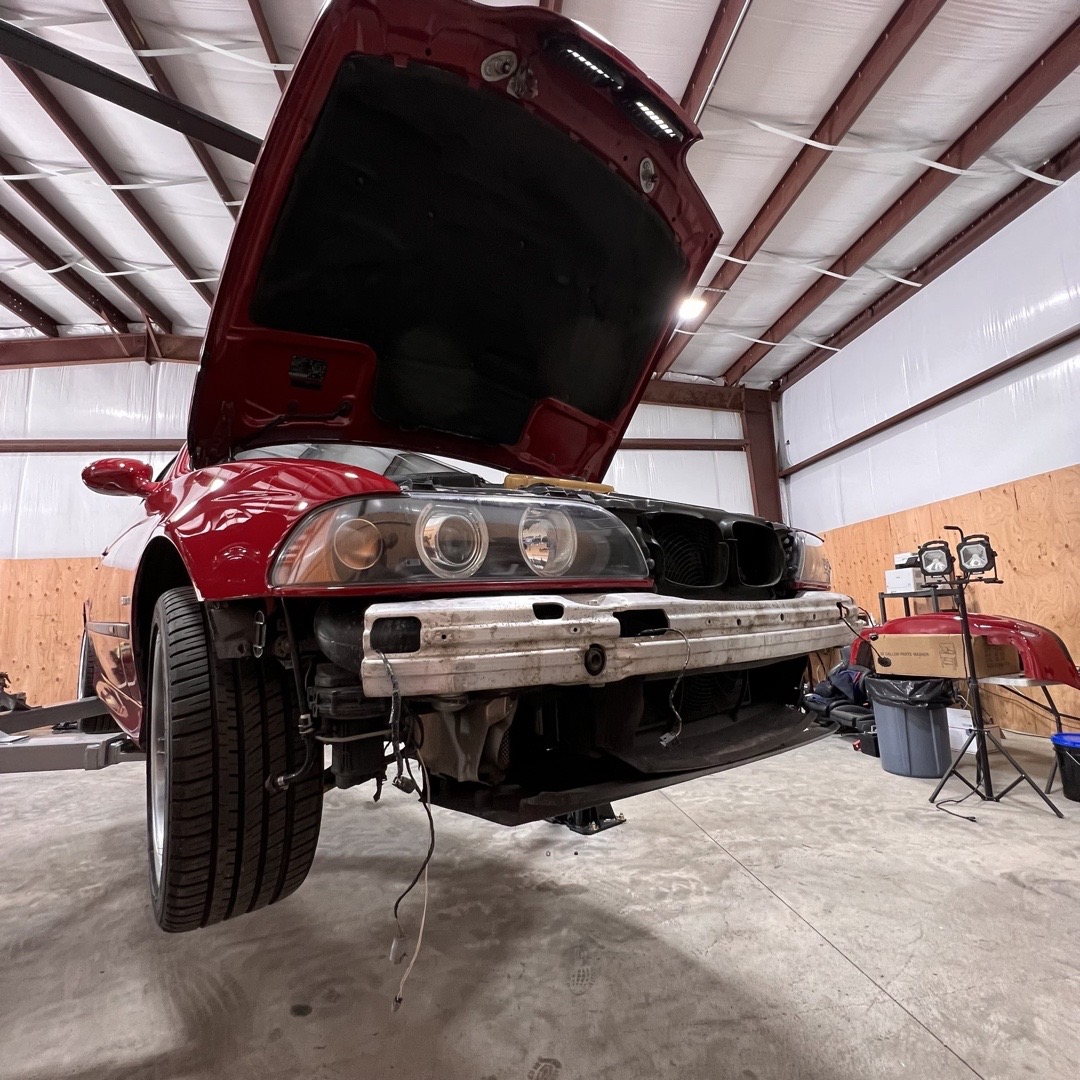
(Removing the front bumper)
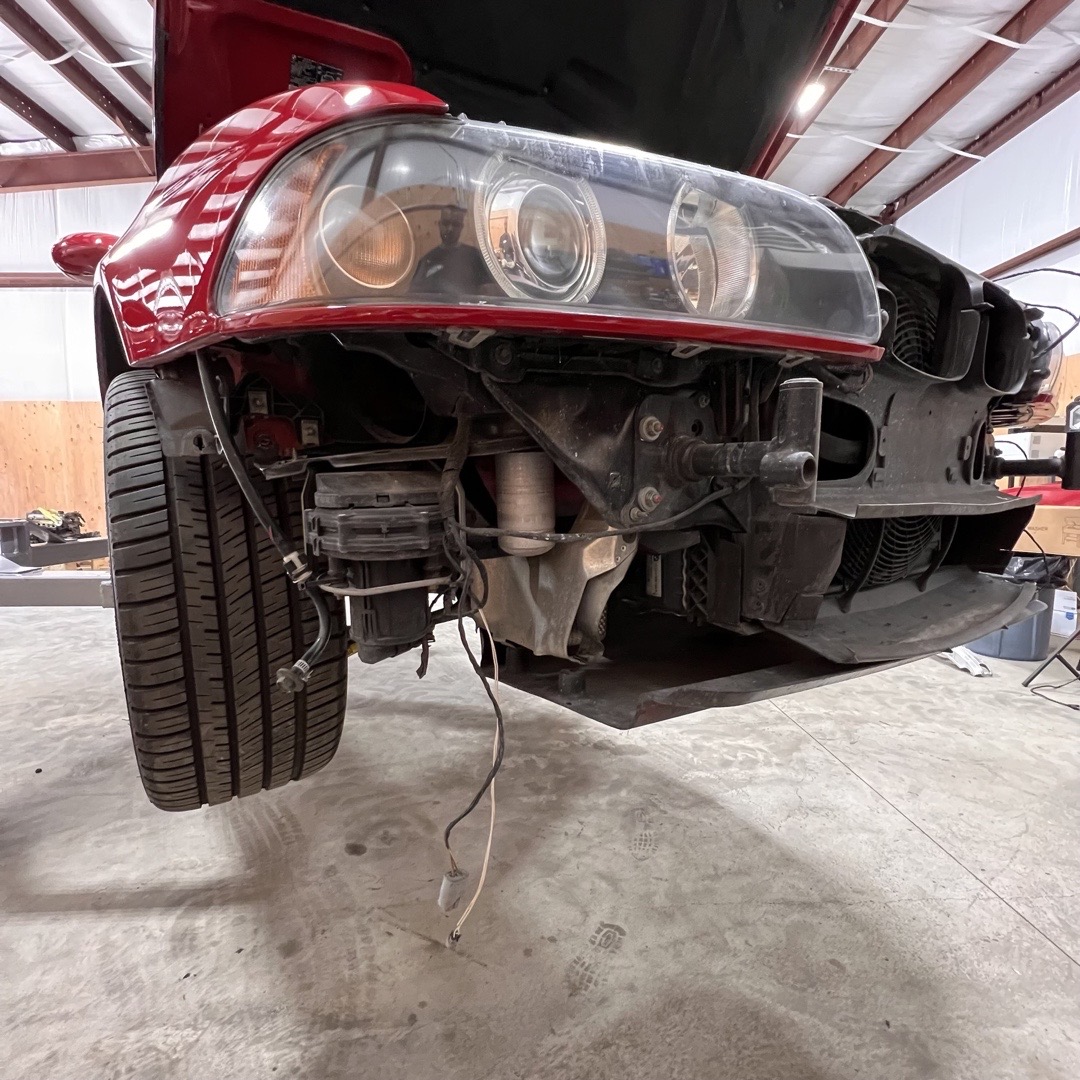
First, let's remove the front bumper. There are three 8mm screws holding the front lower wheel arch liner's in place. Next, there are four 10mm bolts on each side for the lower liner's. Then - two main torx bolts that hold the bumper above the center grille. After slowly pulling the bumper forward, we can now remove the fog light connectors, ambient temperature sensor connector and PDC connector's. Once done, the bumper can be fully removed from the vehicle.
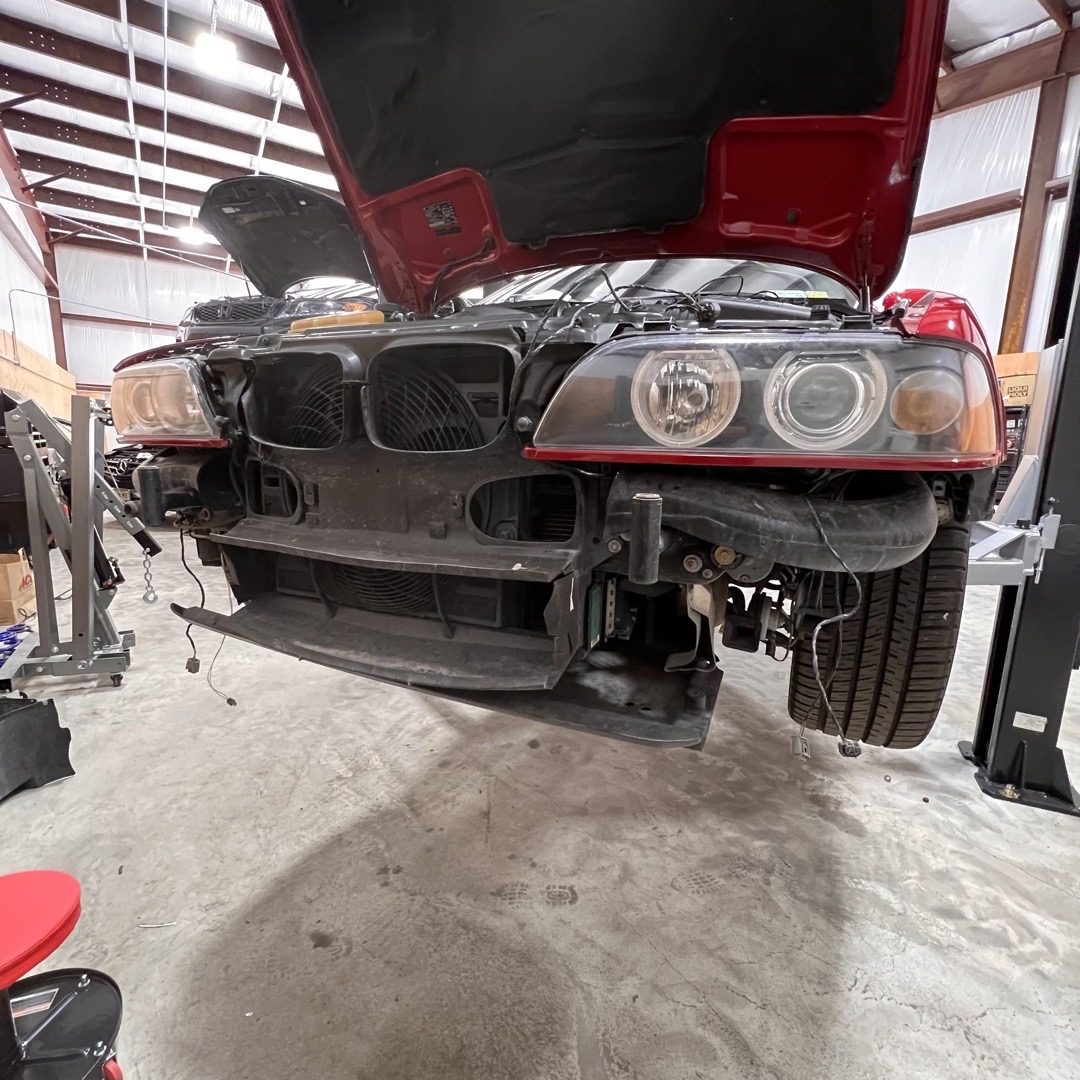
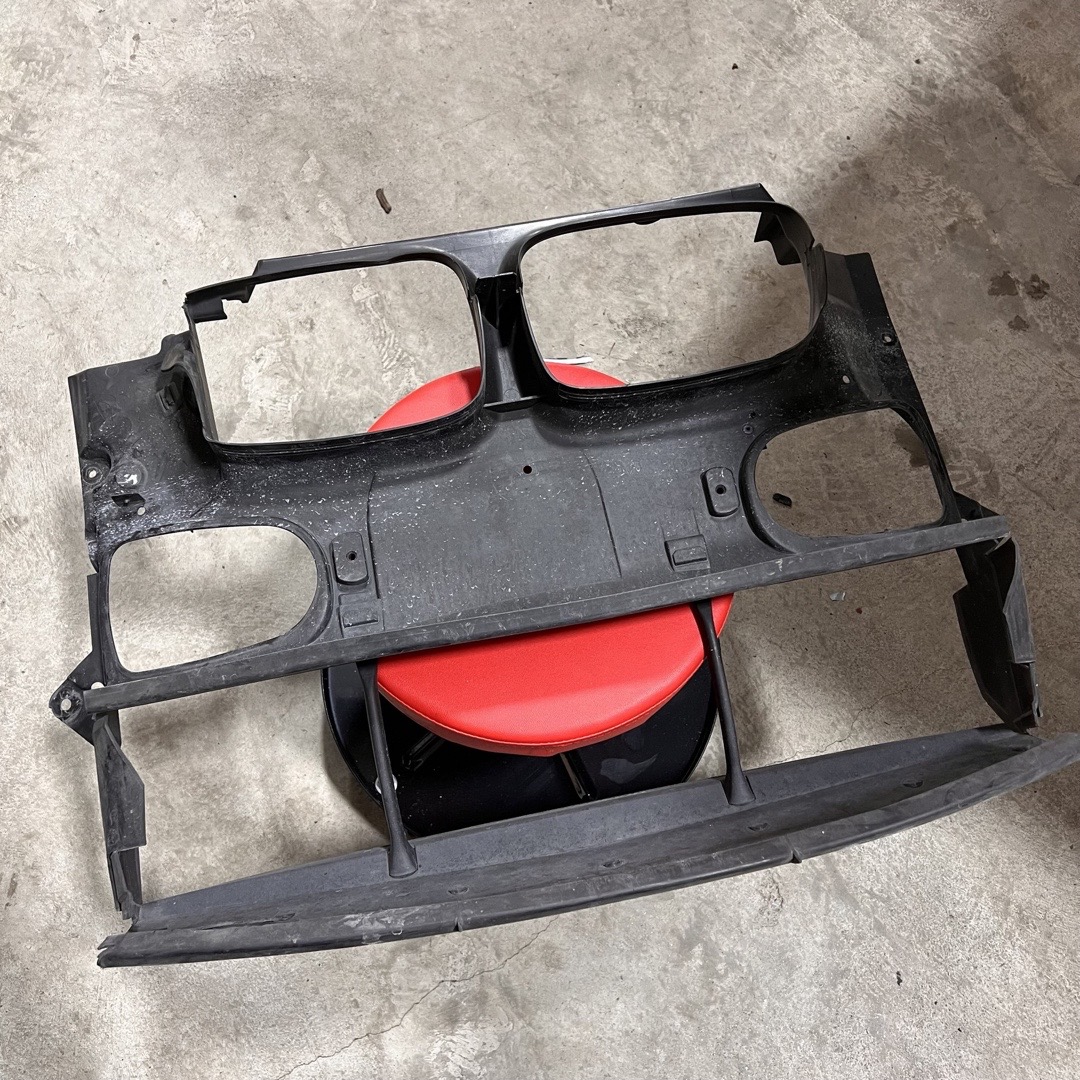
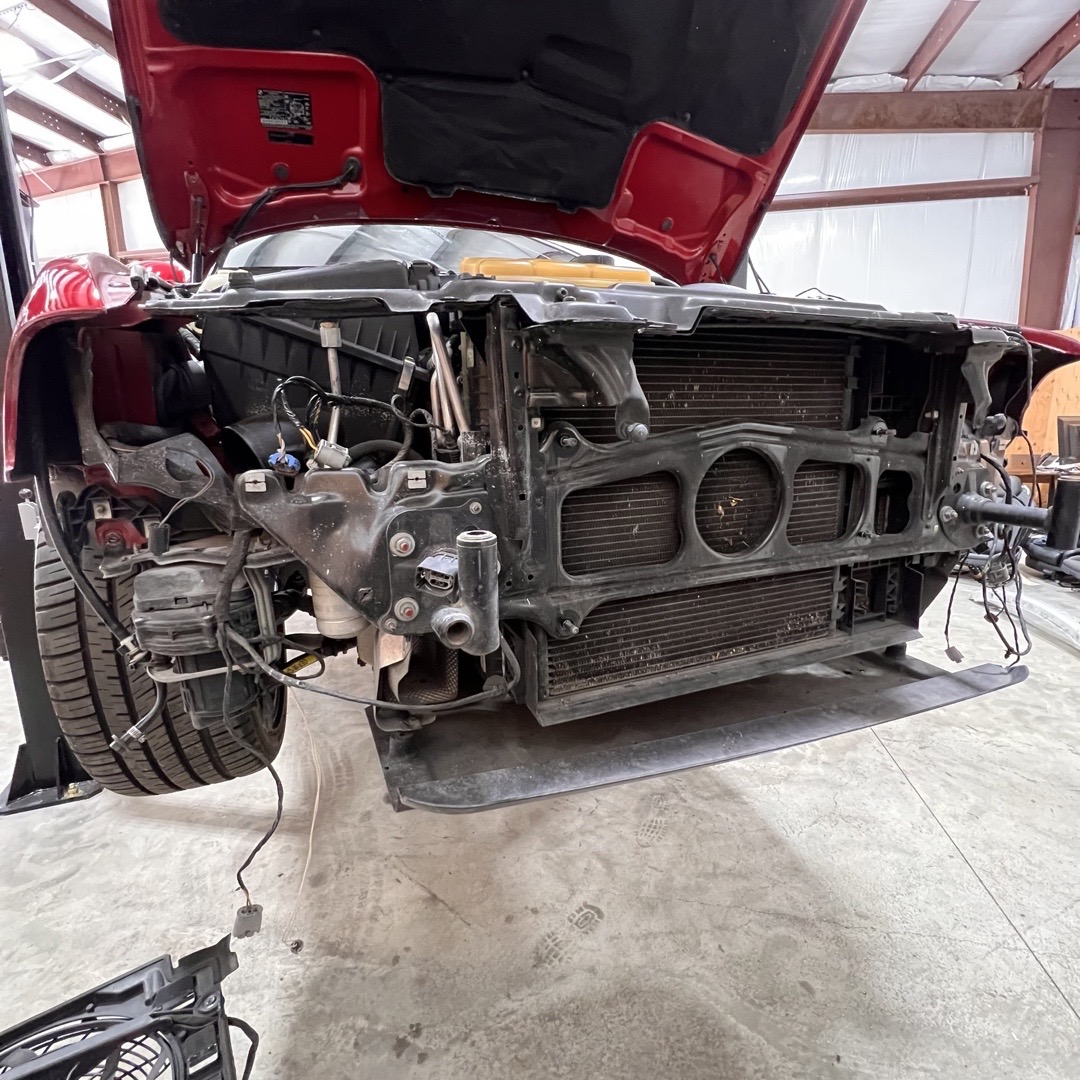
(Front carrier removed)
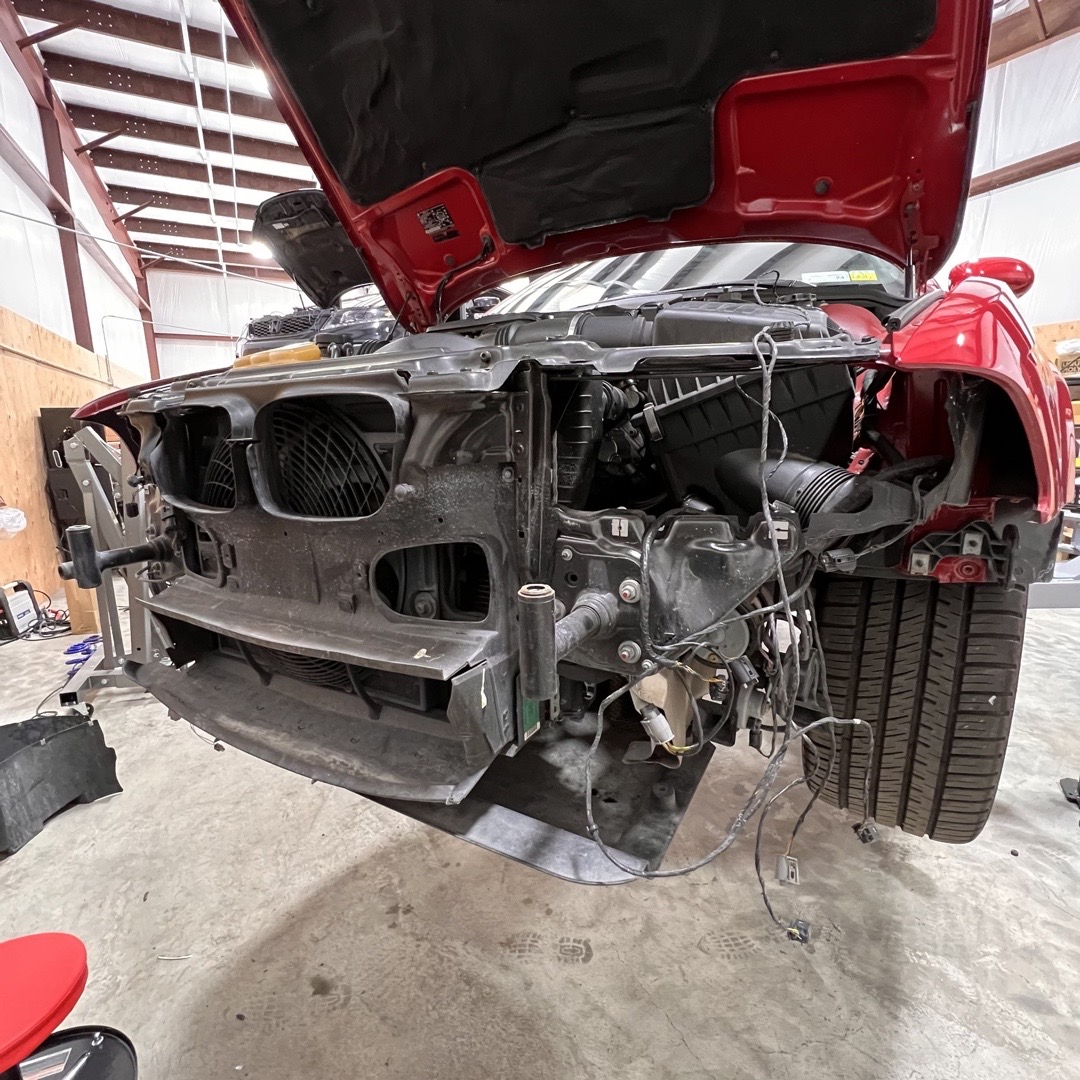
Now we remove the front carrier, held in place by long torx bolts fastened to the left and right shock absorber's.
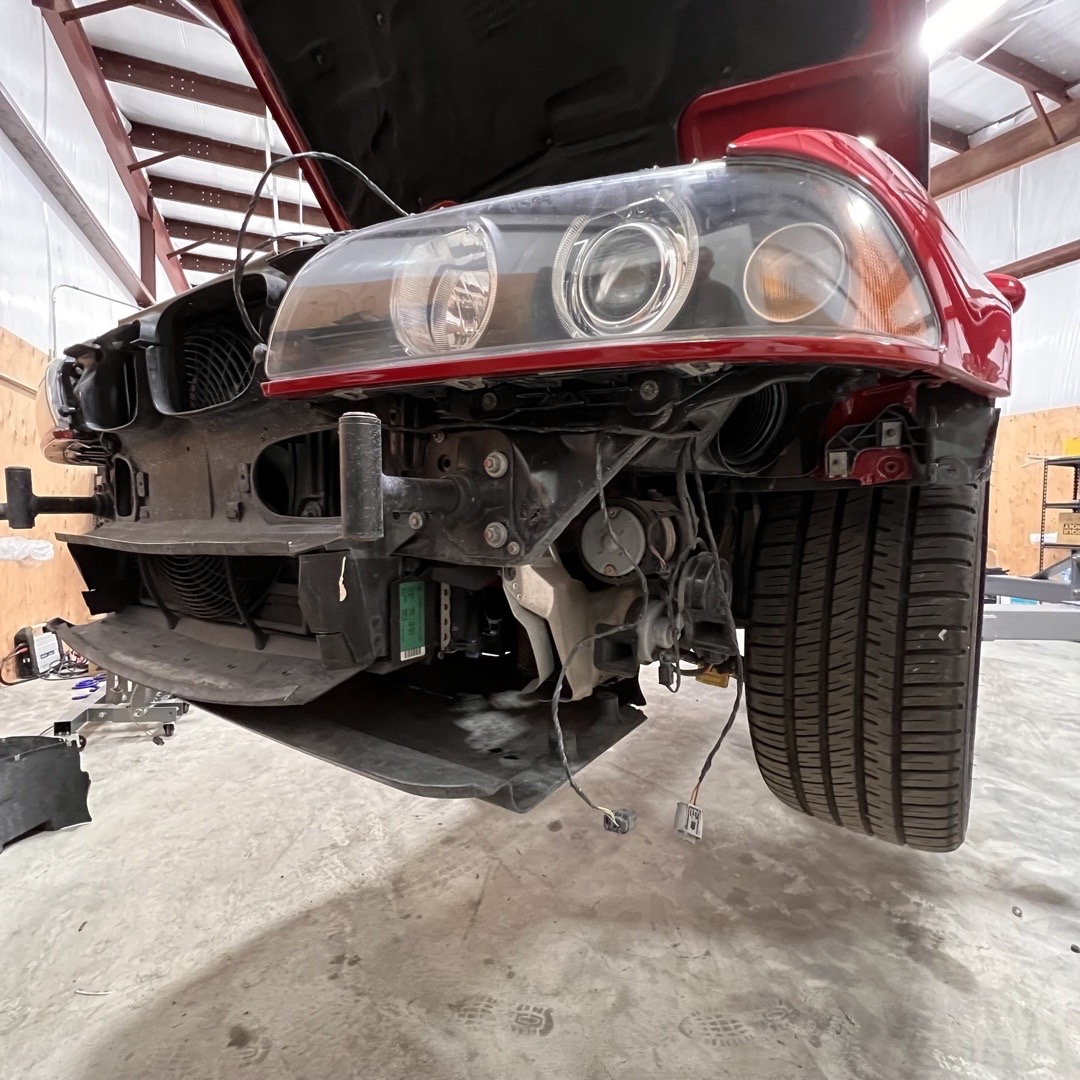
(Intake tubes under each headlight removed- held in place by two 10mm screws)
(Intake tube under passenger side headlight removed - held in place by two 10mm screws)
(Headlight's removed - held in place by two 10mm screws on top of light and two 8mm screws on bottom of light - make sure all connectors removed from lights before attempting to pull forward)
(Front air duct removed - held in place with push pins on this model)
(Front air duct removed)
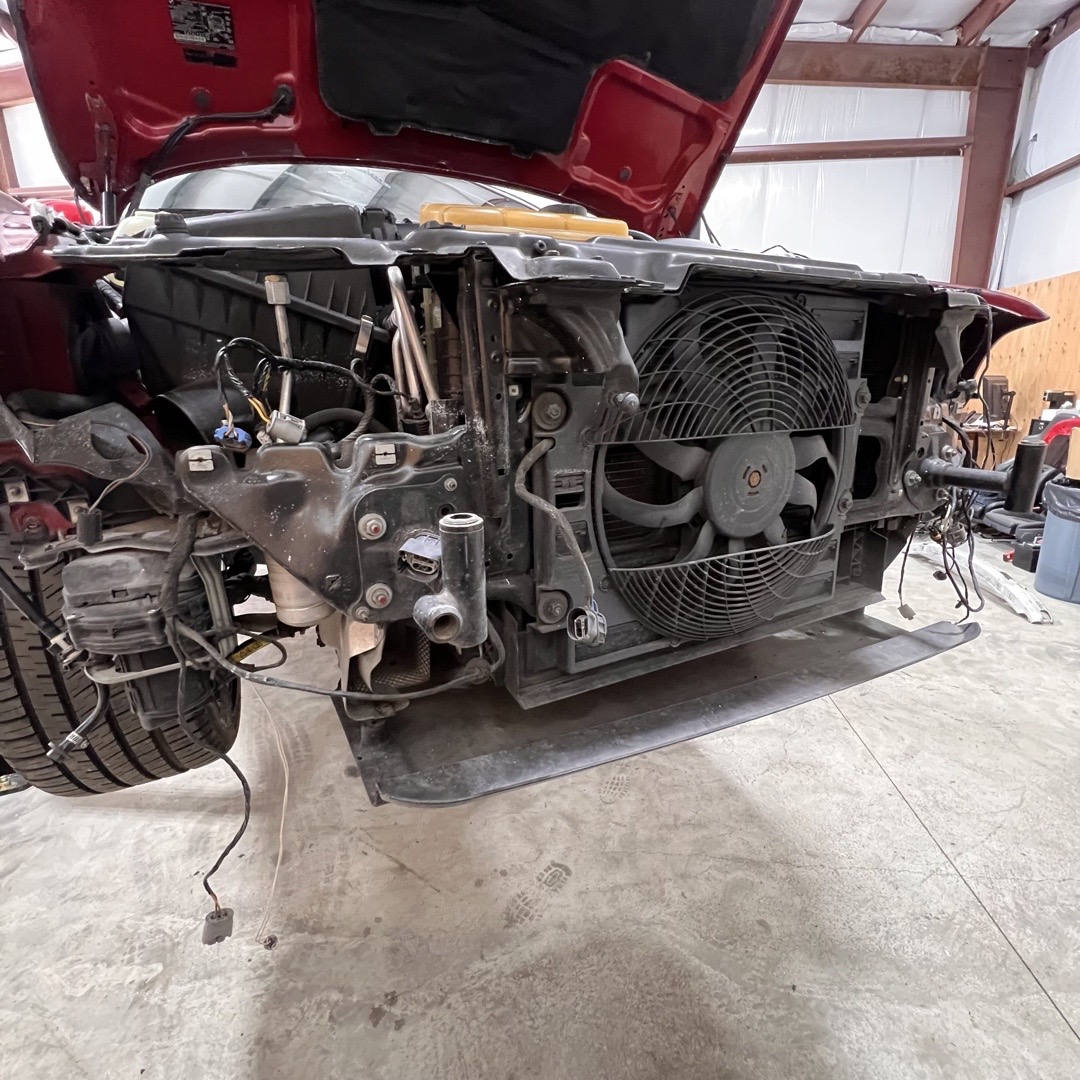
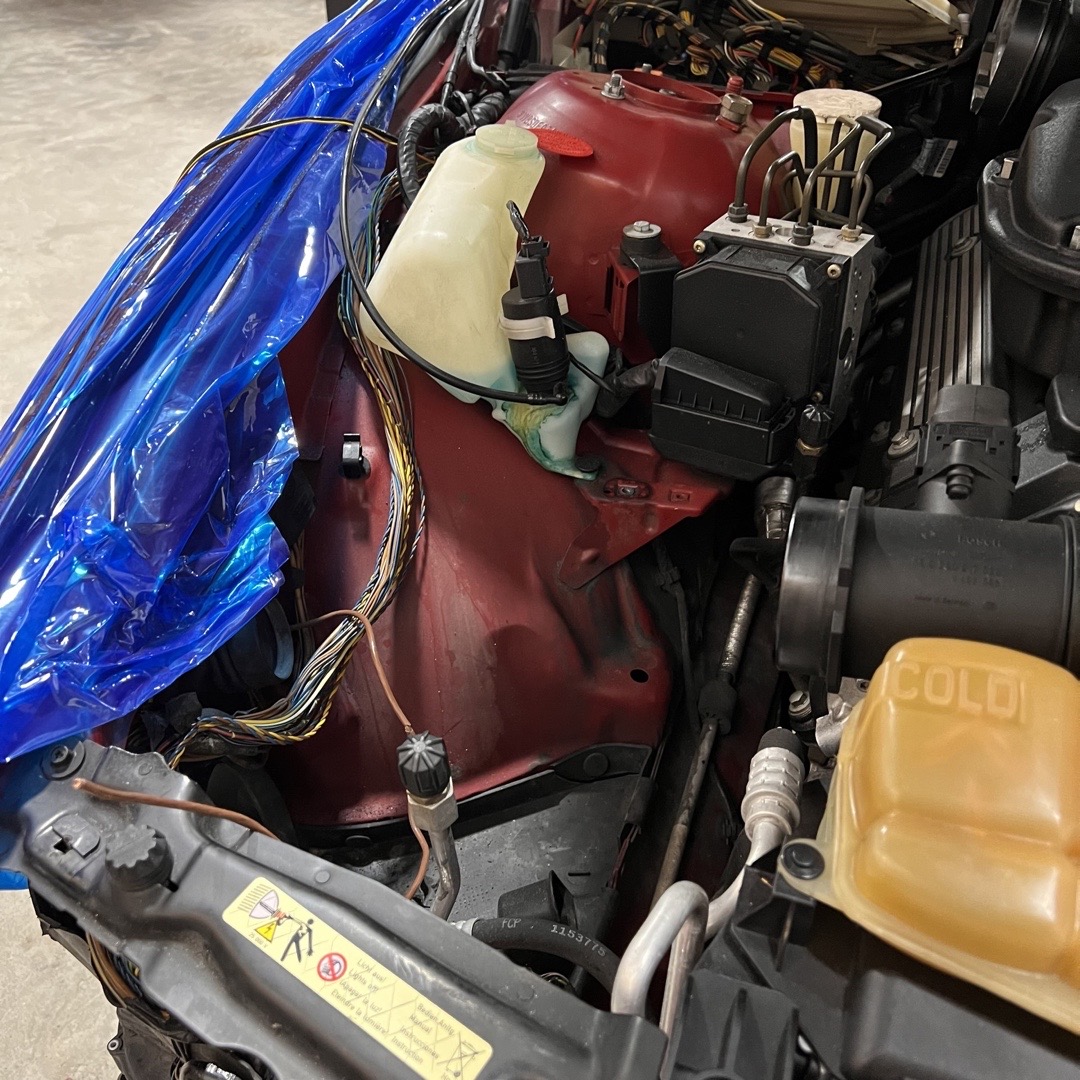
(The aux fan is held in place by four 13mm nuts - carefully remove the connector and pull the fan forward and out)
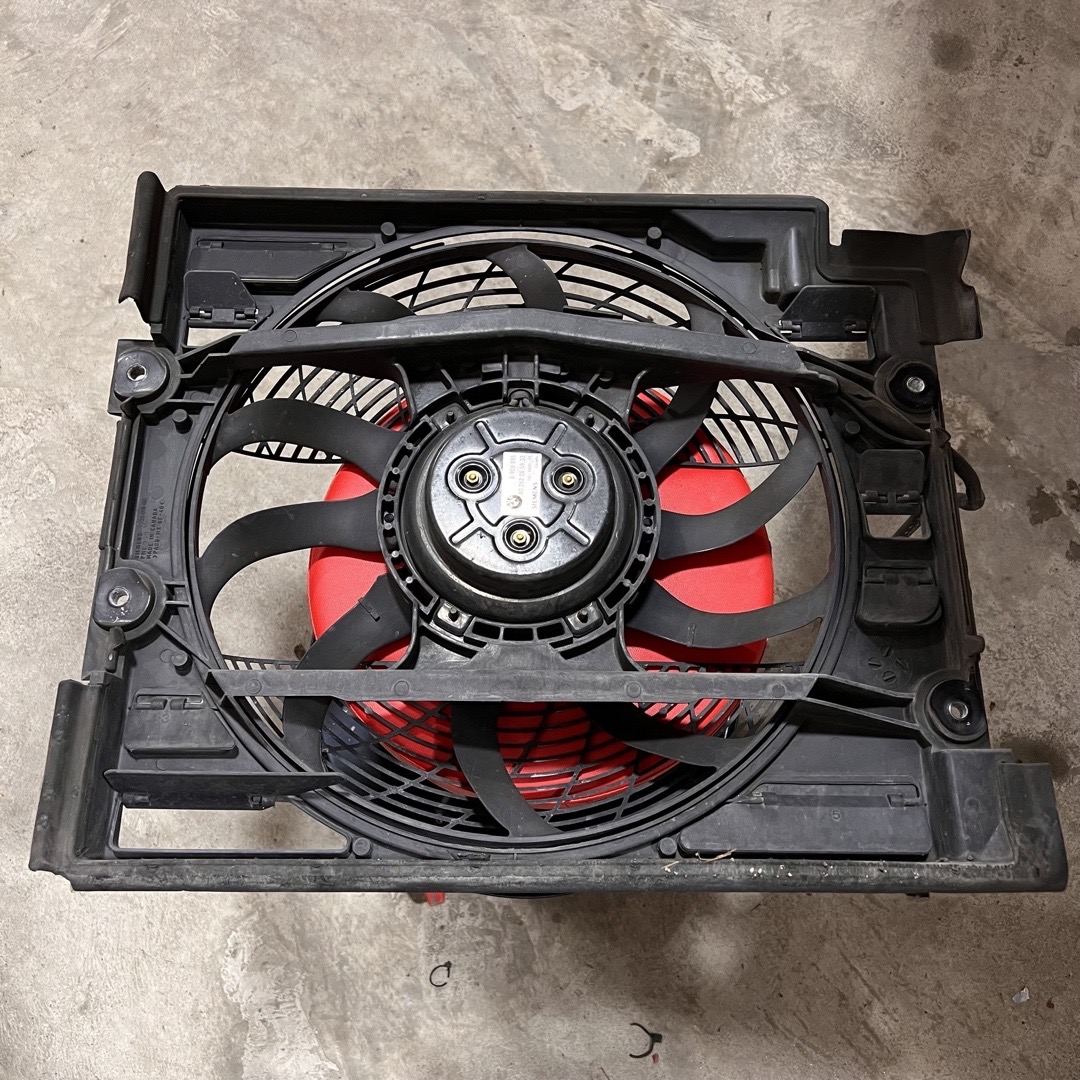
(Old aux fan removed)
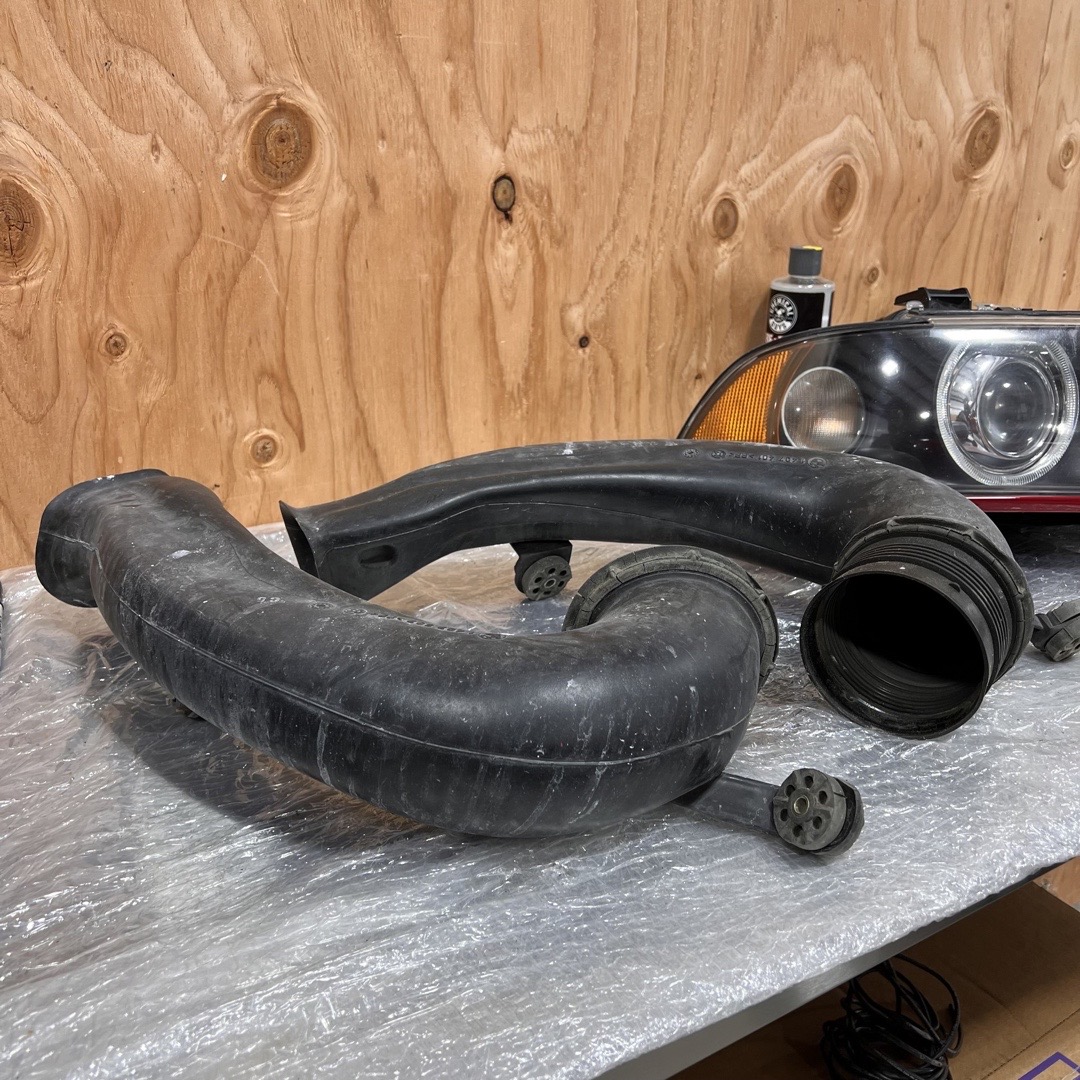
(Intake tubes removed)
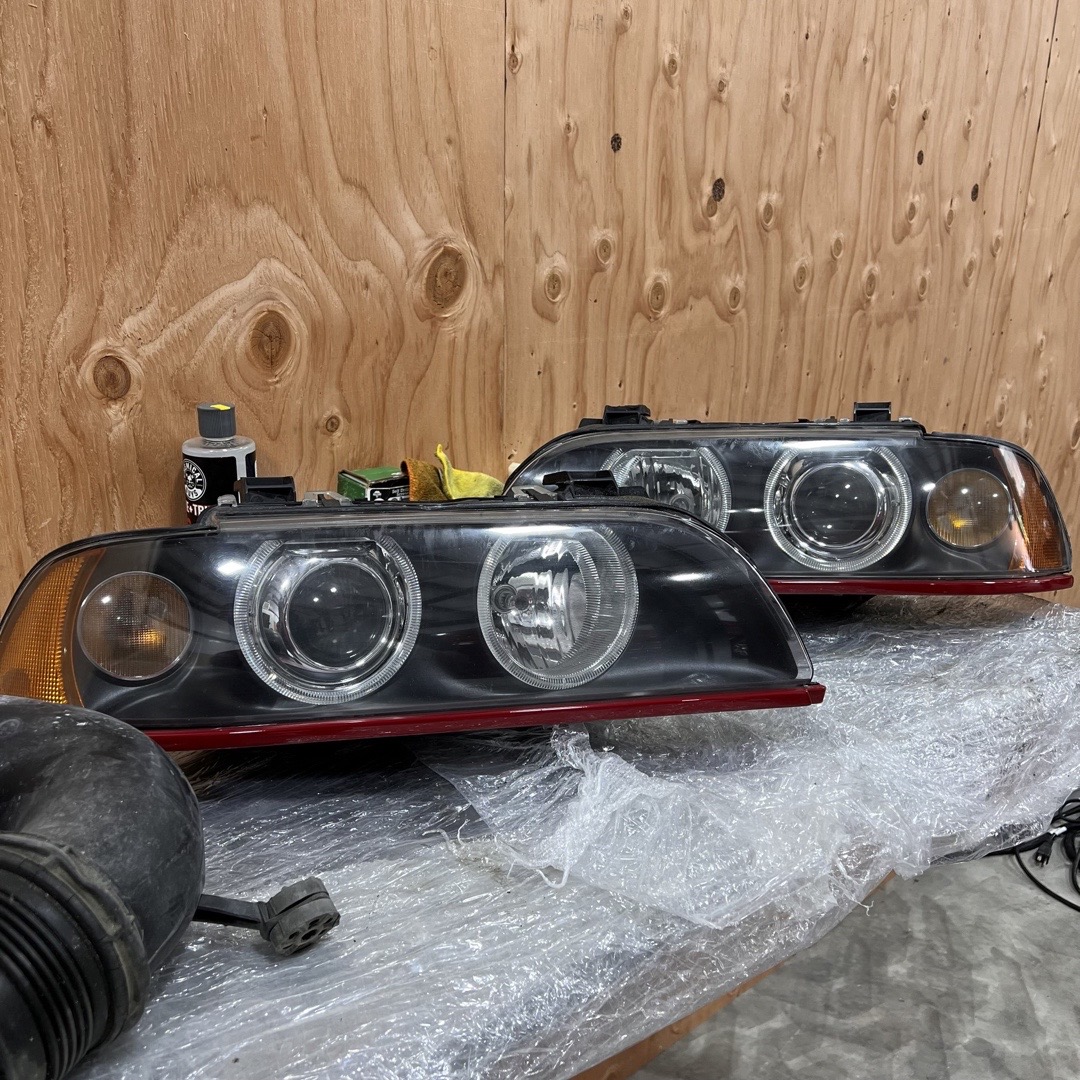
(Headlight's removed)
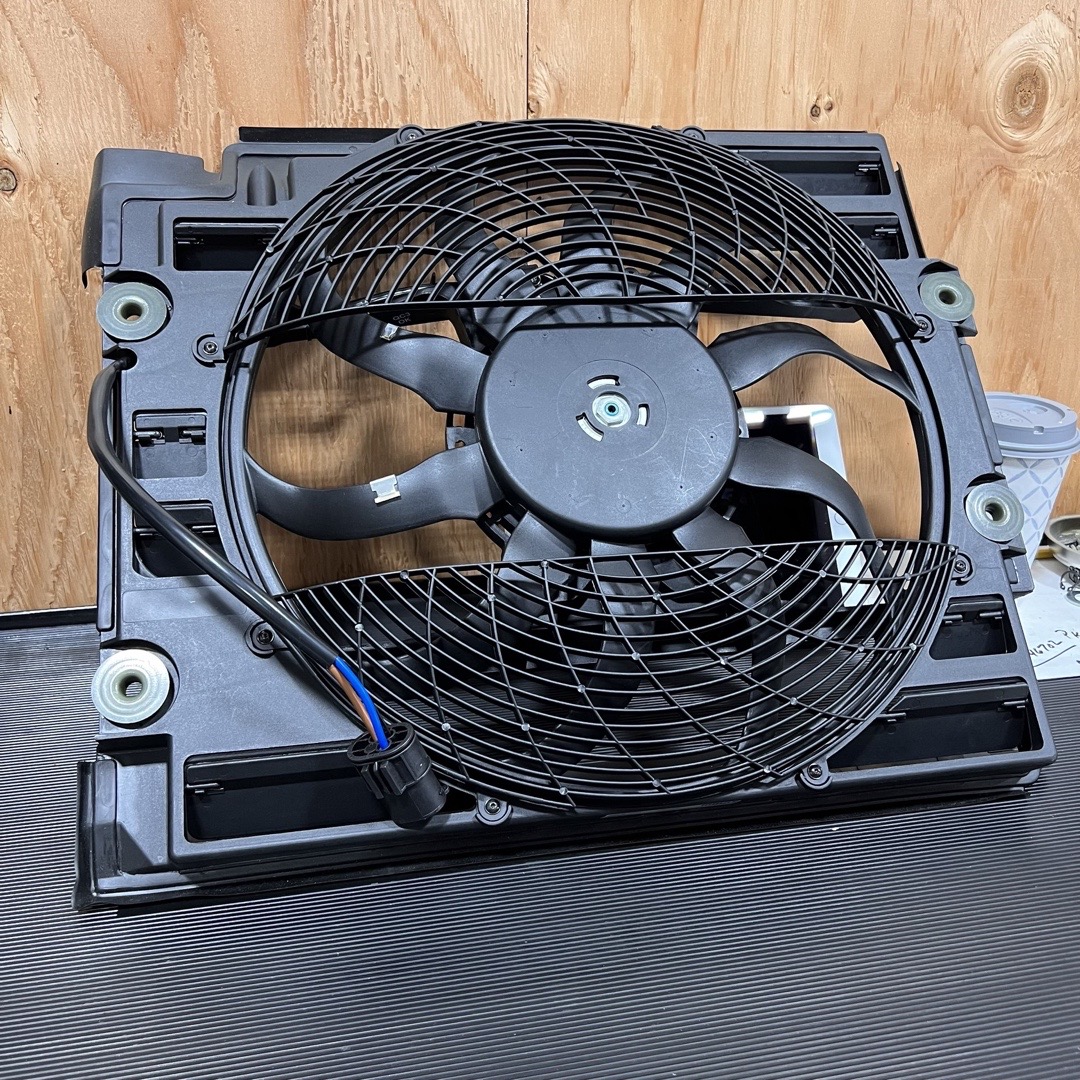
(New OEM BEHR fan ready to be installed)
Now - here is where things got interesting. We tested the fan prior to removing and did have 12 volts at our connector along with 3.5 volts on our signal wire. At this point, all things pointed to a failed fan. The new aux fan was installed - turned on for about 20 seconds and turned off. We reverified the old fan was dead and the new fan was good using a separate 12 volt source. At this point we checked all fuses (this E39 did not have a resistor inline) and everything was O.K. Next we moved to the connector and now had 12 volts on our hot wire - but about 0.2 volts on the signal wire with the AC on full blast and the vehicle at operating temperature. Since all of our fuses are good - this leads us to believe there is a break in this signal wire somewhere between the DME and the connector. Upon pulling back on the wire loom about 6-8 inches, we found the break in the signal wire - along with some serious corrosion and multiple breaks on the ground and power wires!
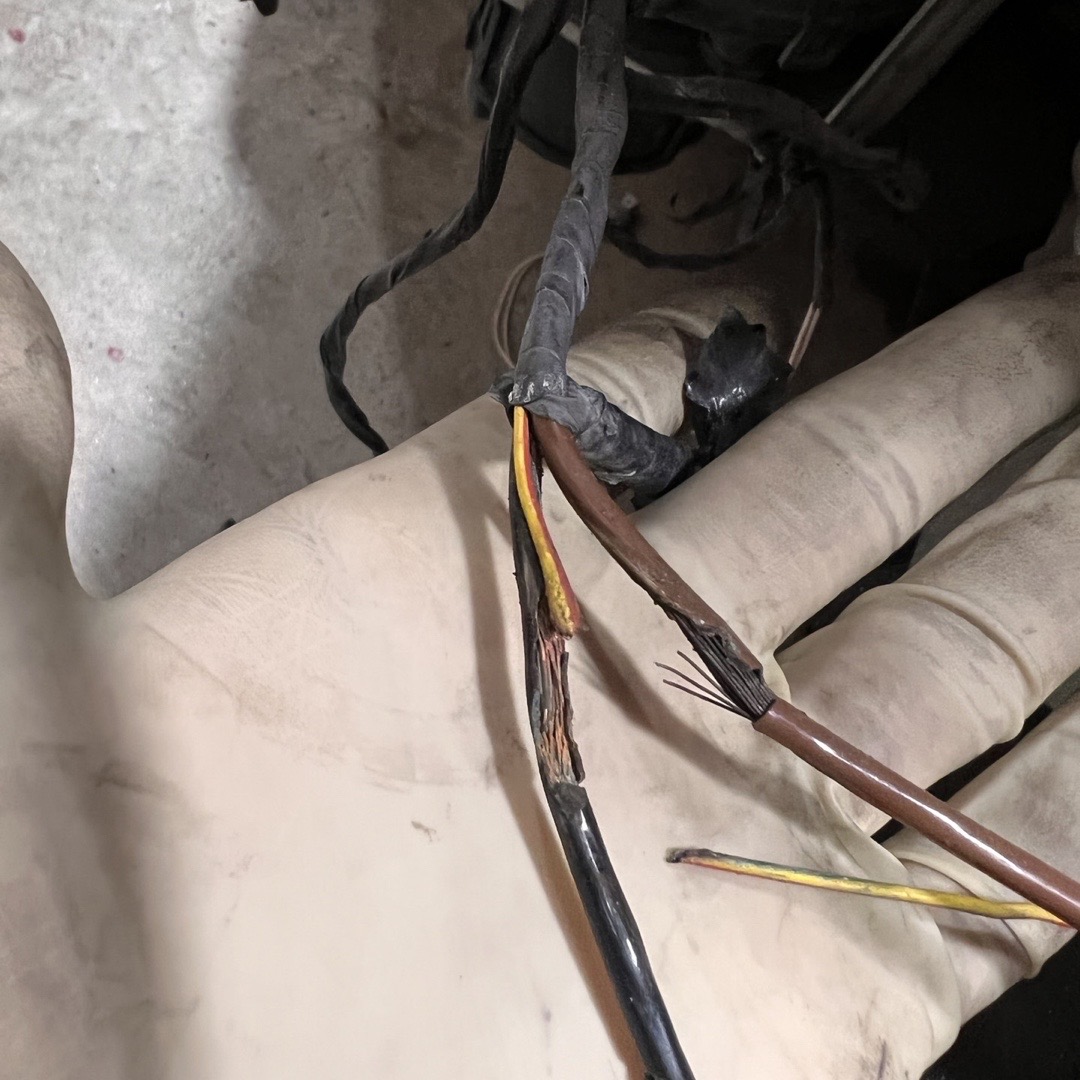
(Break in signal wire - that black wire is our 12 volt - and it still giving 12 volts on our multimeter!)
(Another break further upstream on the 12 volt wire for the aux fan connector)
At this point, it was decided to replace the power and signal wires all the way up until the grommet to the DME, as well as replacing the ground wire from the connector to the vehicle chassis.
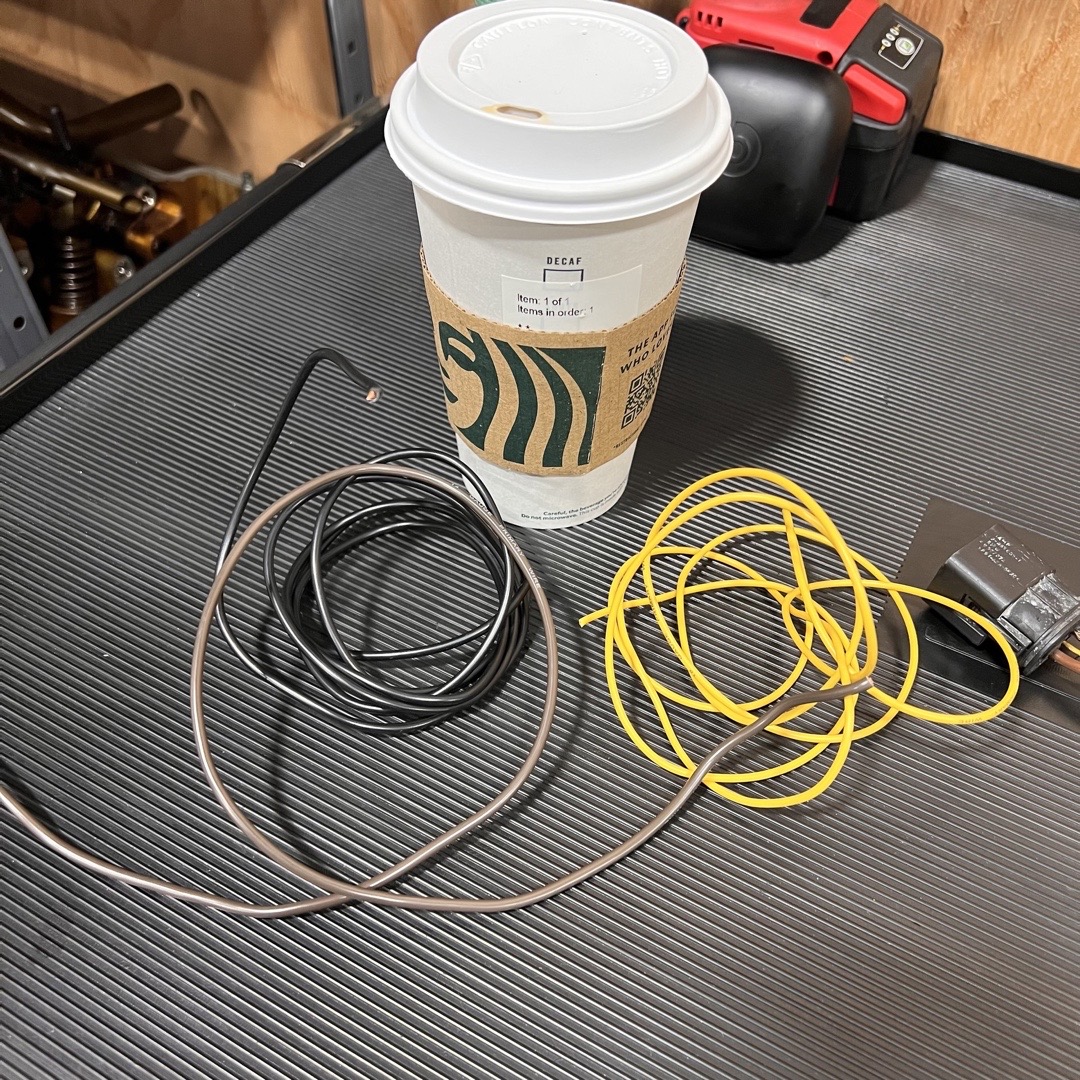
(Help has arrived - including an afternoon pick-me-up!)
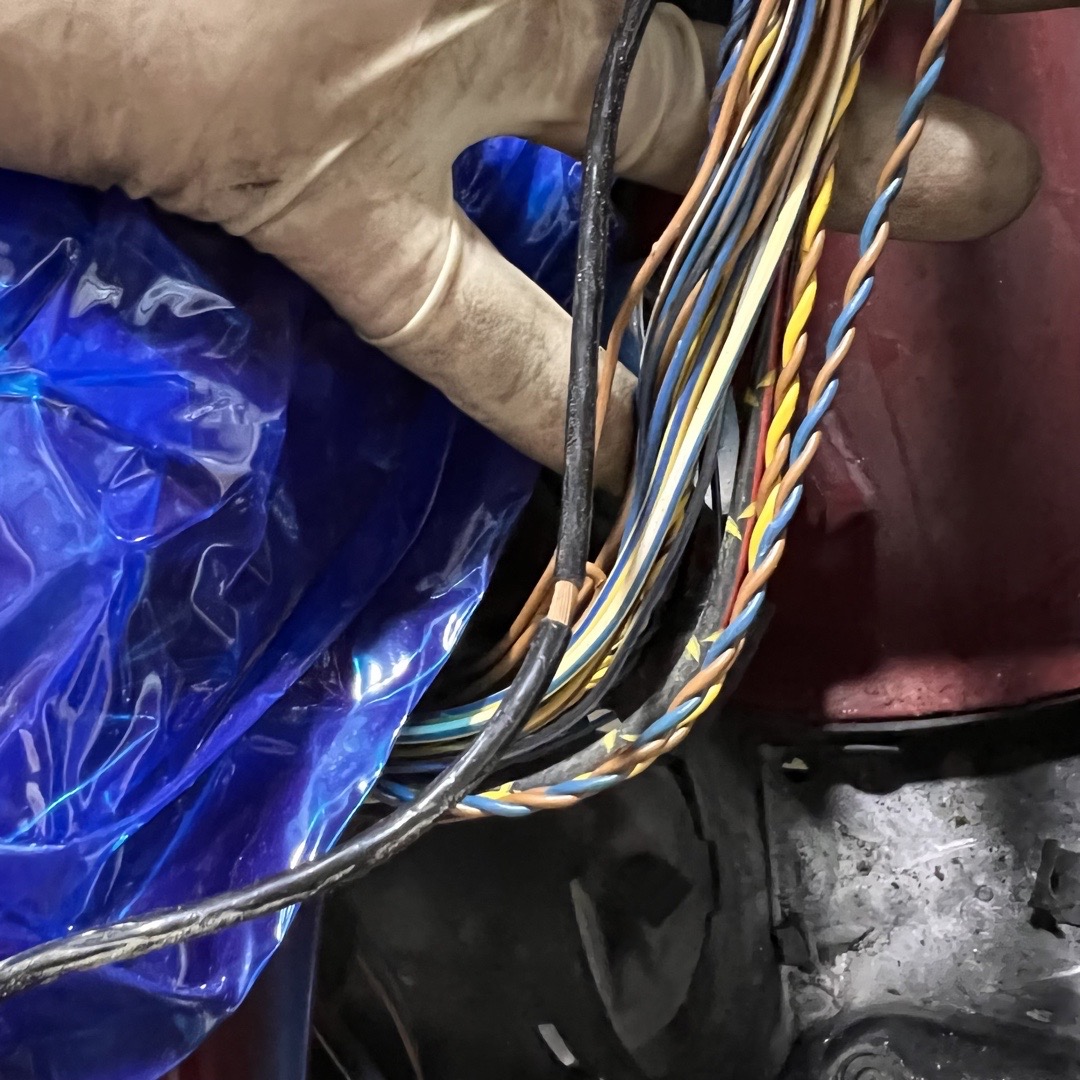
(Wire loom removed exposing the entire wire harness that carries the aux fan power and signal wires)
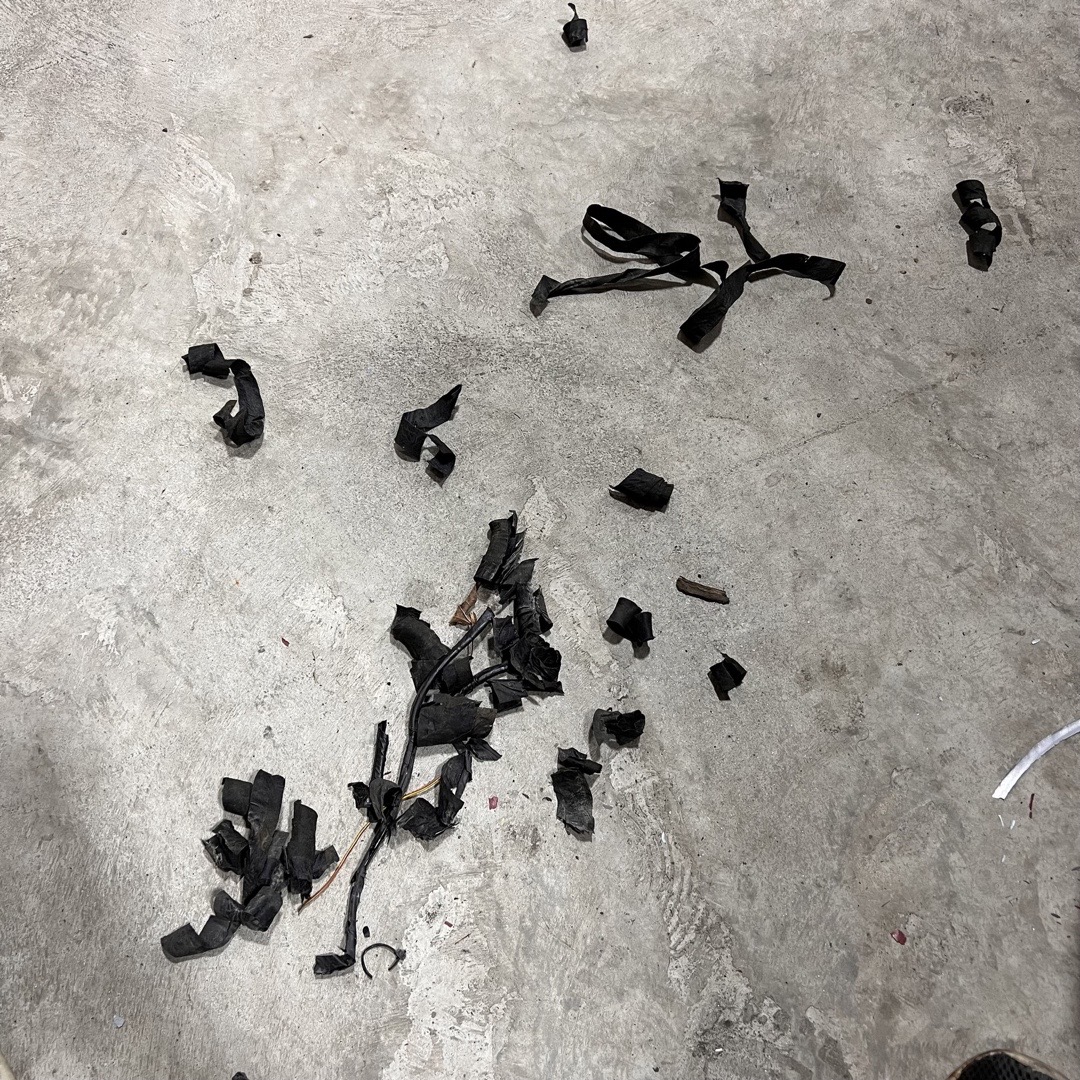
(Twenty year old wire sheathing removed)
We carefully used a razor to pull back on the protective wire sheathing. After 20 years, it's lost its elasticity and flaked off similar to charred paper.
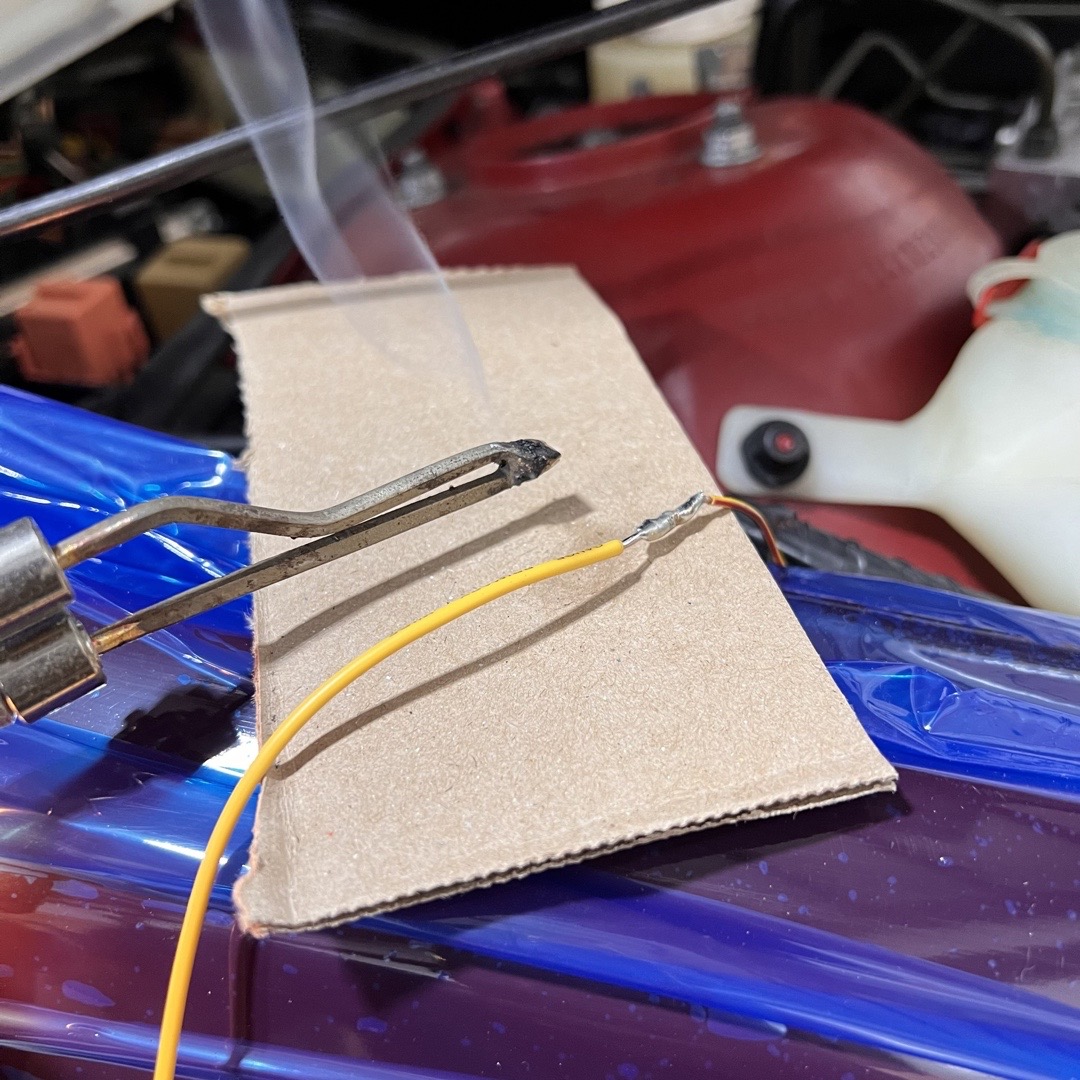
(We carefully cut, stripped and soldered the power wire, signal wire and ground to the new wires)
After soldering the new wires, we carefully routed it into the existing harness, wrapped it and secured back into the original location. This particular vehicle needs a new connector - but we needed to get this car back on the road ASAP. Our fix will work for now, but we've ordered a new connector and will tie that in down that road to the new harness we ran.
We tested for power on our signal wire and everything is working as designed now! We installed the new fan and tested it. The fan now functions properly.
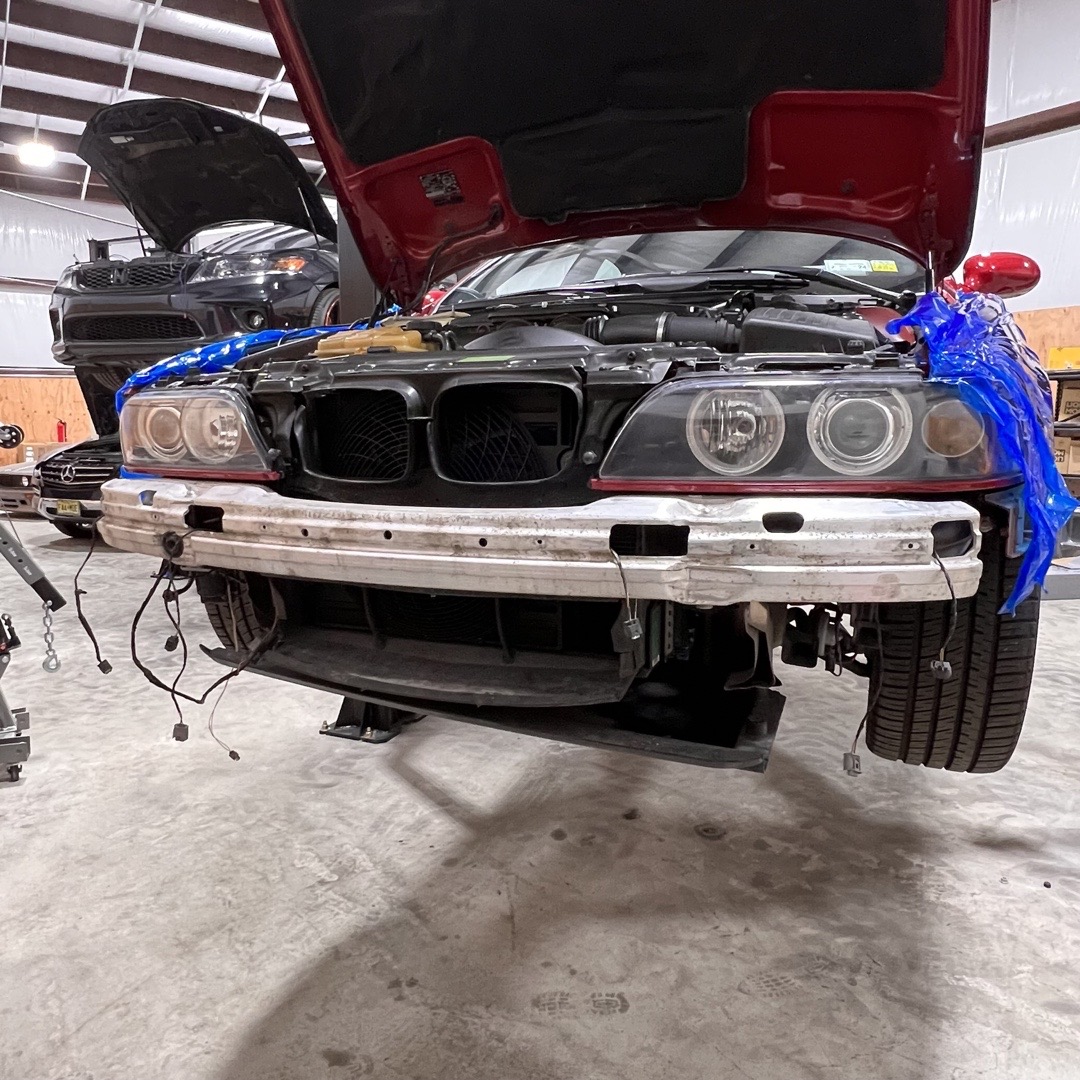
(Next was reinstalling the intake tubes, air duct, headlights, front carrier and front bumper!)
The fenders are wrapped in paint protection film as this particular E39 just had a complete paint job and we don't want to scratch it!

She's all done and ready to hit the road now with NO more overheating issues! Yes, we are aware the front passenger bumper trim is missing. We had to replace a PDC sensor clip - don't worry - she didn't leave like this!
If you're servicing any part of your E39 cooling system - feel free to reach out to us with any questions. We keep Genuine and OEM fans, radiators, hoses etc in stock and ready to ship! Best of all - our Genuine and OEM parts are backed by a lifetime warranty!